Why you should practice micro (not macro) photography
Micro photography
Sometimes the big picture is not all it is made out to be
I often find a traditional photographic image too much. A wide landscape, a complicated still life or portrait or a bustling street photography can all contain an awful lot of content. There can be so many competing elements in a scene. I’m not sure what my eye is supposed to be drawn to. Equally, the image can be overwhelming. I can find it hard to take it all in and digest it, a bit like a pudding that is just too rich.
I prefer to make images of smaller, simpler subjects. It requires work to find the right ones. But I find concentrating on this type of image making can be extremely satisfying. This is micro photography.
What is micro photography?
Micro photography is all about the little things. These are the things that are often overlooked but that have so much to say.
Micro subjects can include:
The moss on the branch
A dead flower
The joint of a finger
The weed in a street
A detail of clothing or everyday implement
Making the right images of these subjects is usually peaceful and contemplative. You can end up with works that are unusual and strangely compelling.
Why practice micro photography?
Micro photography is an extension of mindful photography. I wrote about this in a previous blog. With micro photography, it often takes time to create the best images. This is because it is important to understand a subject to find the right details. For instance, I will often pass time just being in a small patch of landscape without using my camera. Eventually, ideas for images will reveal themselves to me.
This happens when I slow down and begin to see things differently. I become more inventive. My relationship with both the camera and the scene changes.
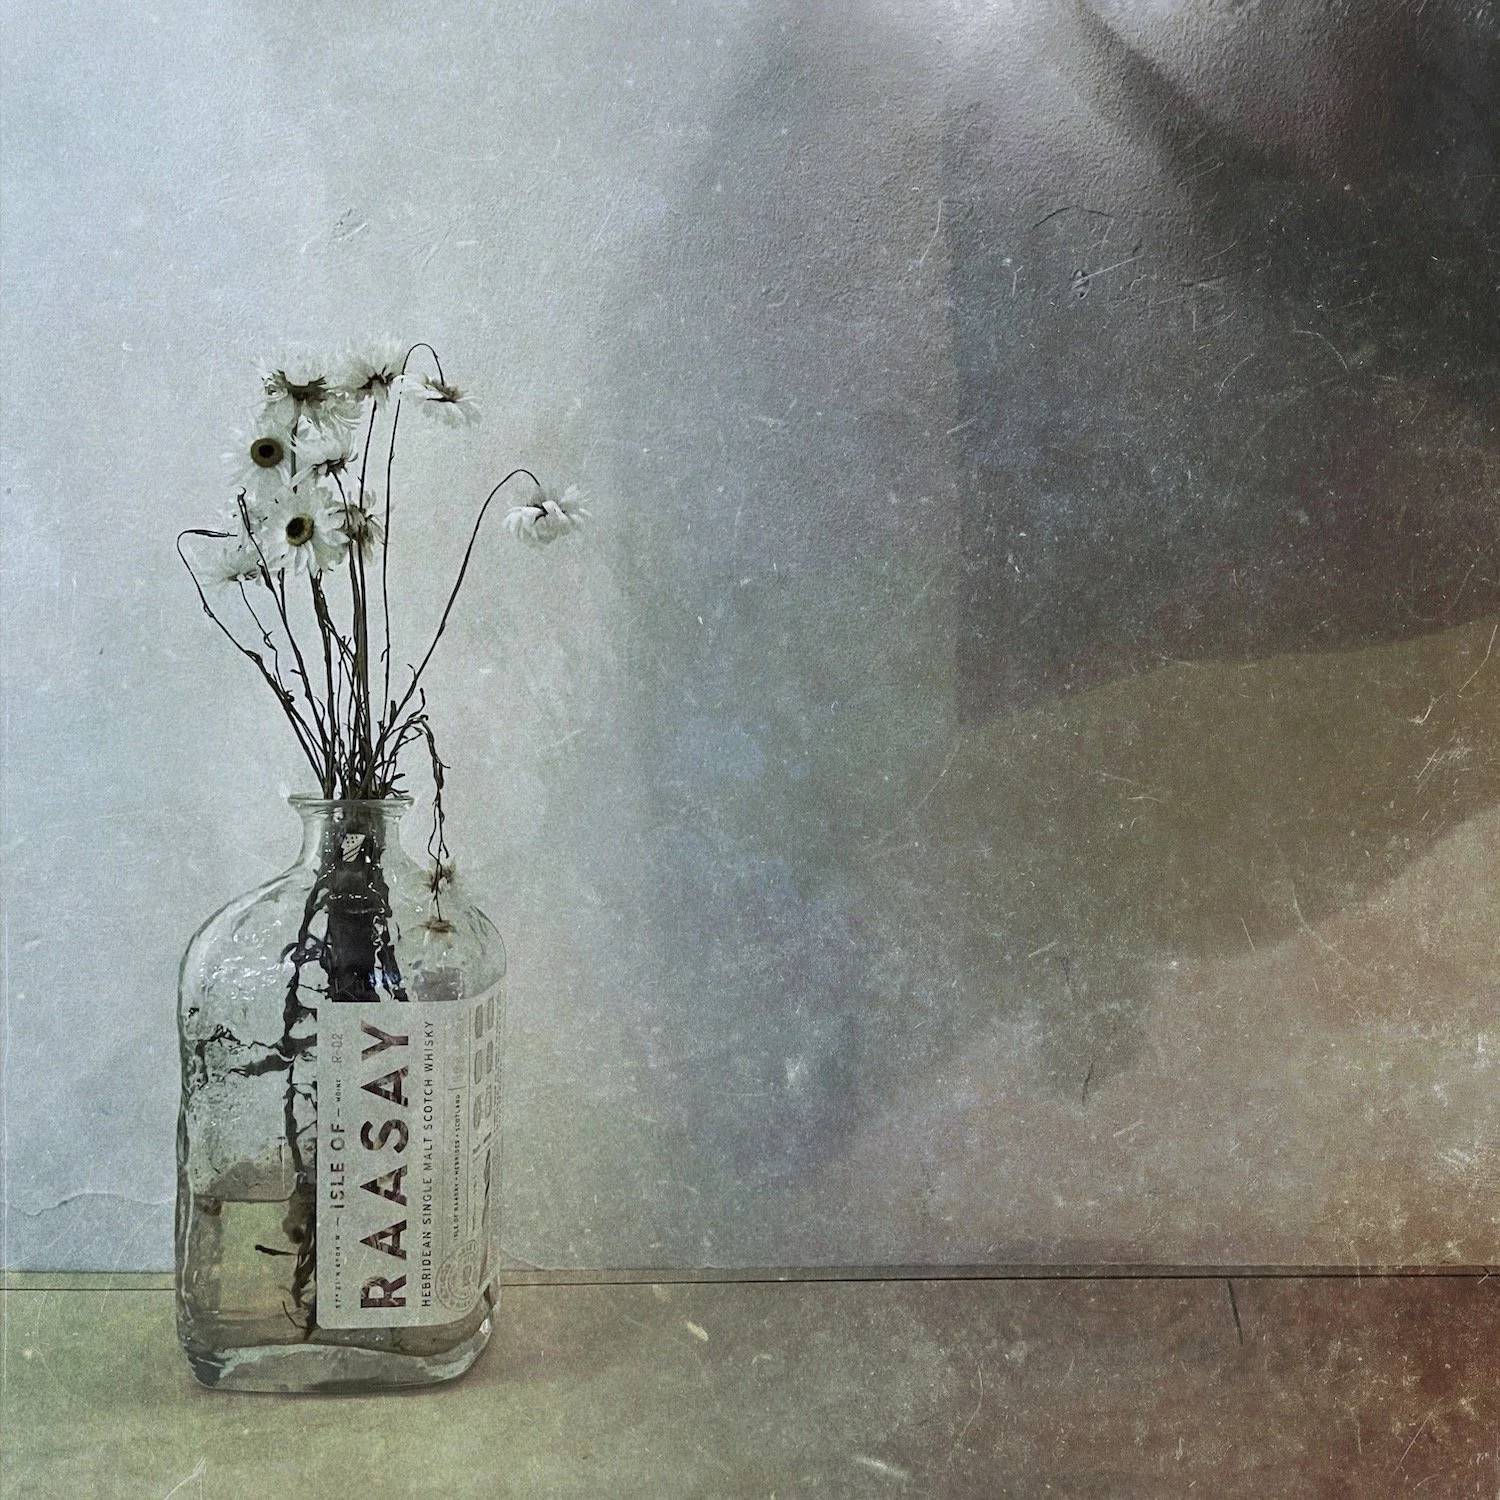
If I was a portrait photographer, I would spend time just talking to the person that I was going to make images of. One project I am currently working on is making images of flowers in vases. I generally have to be near the subject for a good while in order to make the most of it.
How do you get started with micro photography?
A good place to start can be by selecting a subject in your home. Spend a little time looking at objects you haven’t considered making images of before. It could be something as simple as a pot, a piece of clothing, a kitchen implement or even just a pencil. What suddenly stands out for you? Alternatively, bring something in from outside. It could be a twig, a leaf or dead flower. I even have some dead animal bones around!
Live with your item for a few days. Make sure you leave it out somewhere that you will see it on a regular basis. Feel free to move it around as you walk past it. Or to move it to a new setting. Eventually, ideas will come to mind that appeal to you. Now it is time to get your camera out and start making images.
I usually adopt two approaches. One is to keep the subject small but in a minimalist setting. I like to give my subjects space to breathe. I prefer not to have lots of competing elements in the frame. I will spend time working out how to do this. Often it is down to framing carefully. At other times I may use a wide aperture to blur out other elements.
Alternatively, I move right in when I compose the image. I let the subject fill the frame and exclude everything else. I will focus closely in on a small detail in order to achieve this. You can always use a zoom or macro lens to help with the framing.
There’s a whole new world out there
Stop gazing into the distance and, instead, look at what is right in front of you. There’s a wealth of interesting item to make images of. You might start seeing things very differently.